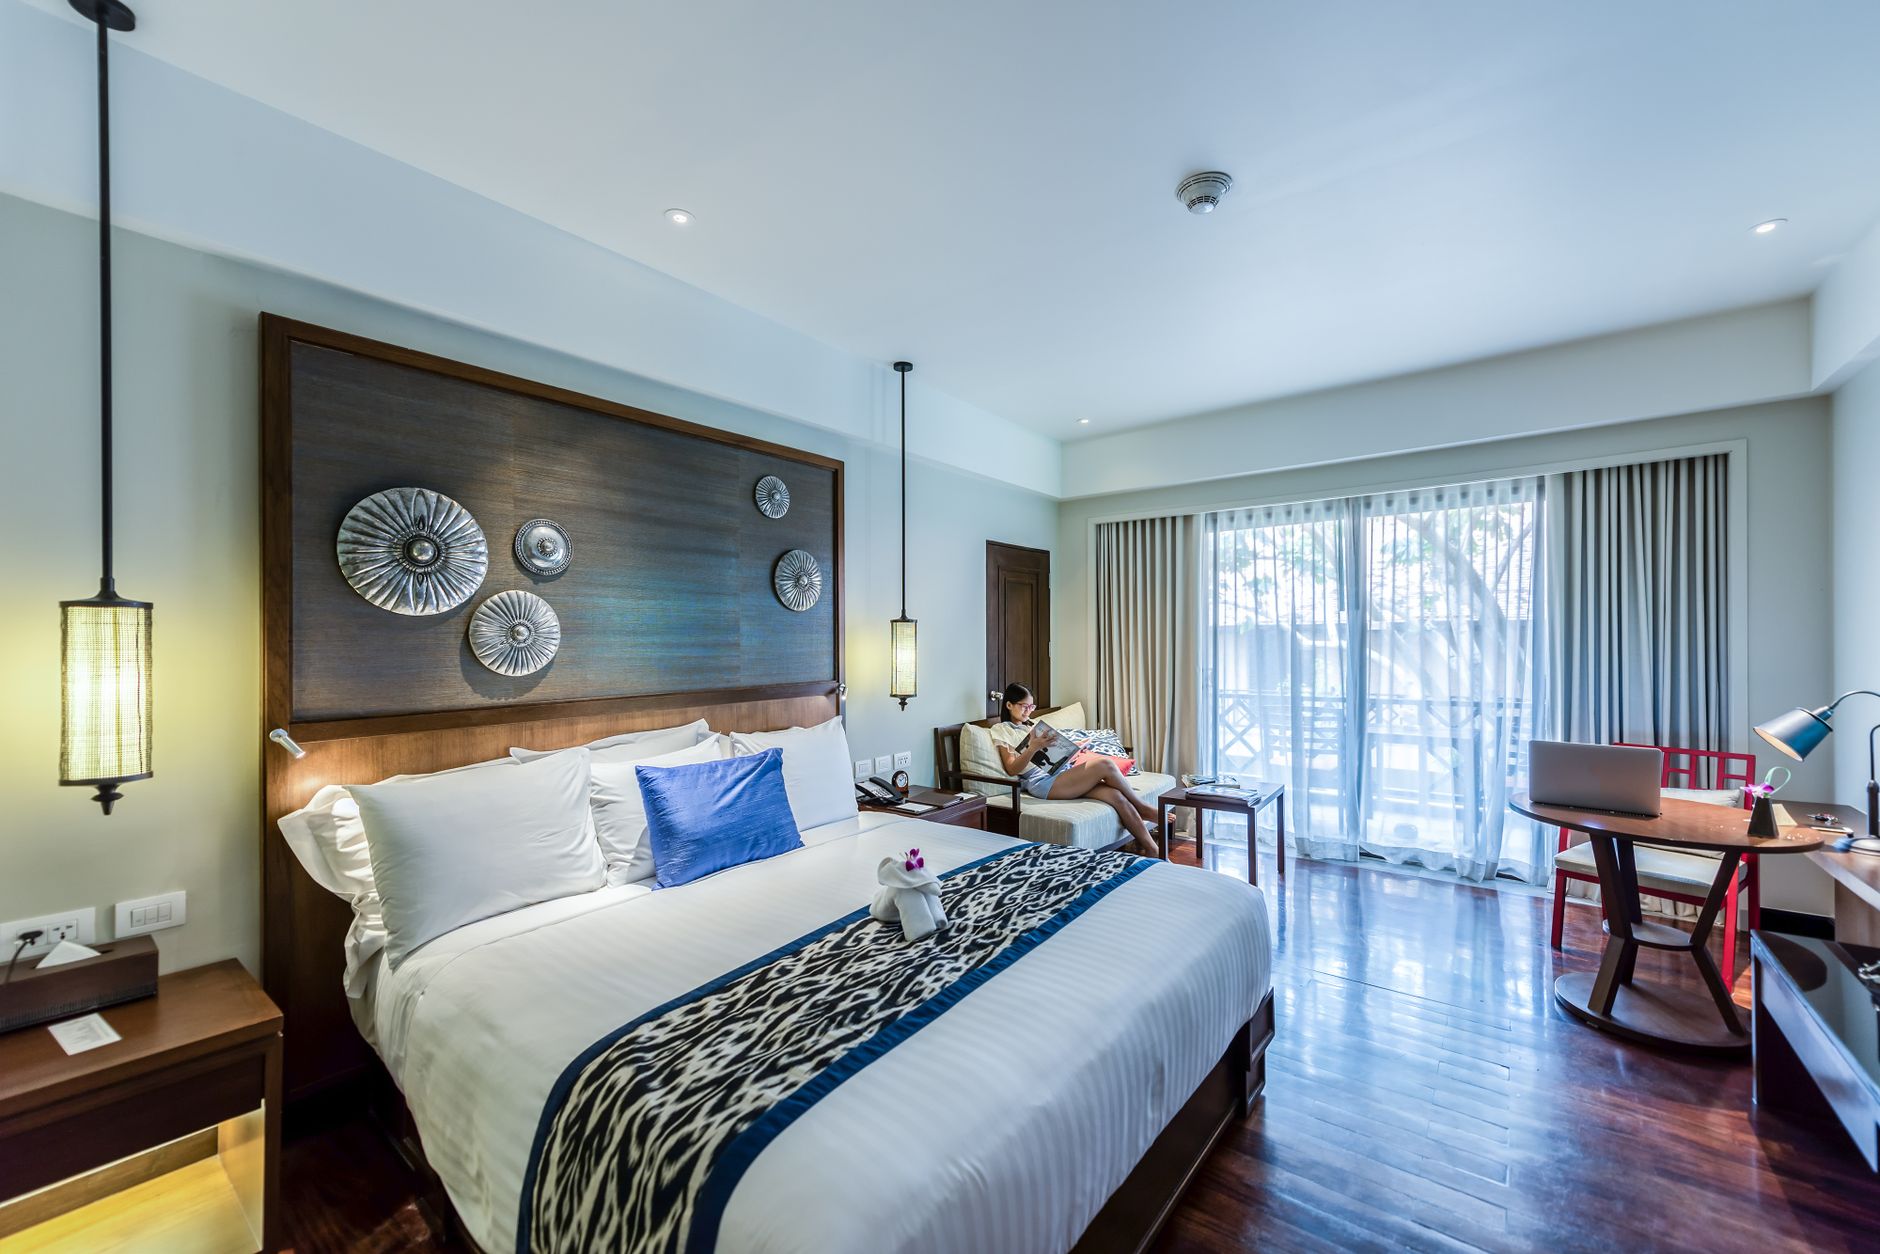
Empty walls are expensive. A blank stretch of wall in a guestroom, a corridor or a lobby does nothing for anyone, while a shelf, a niche or a lit display turns the same stretch into storage, decoration and wayfinding at once. Built-in shelving and display niches are among the cheapest ways for a hotel to look considered, provided the details are resolved properly. They are also easy to get wrong in ways that guests notice immediately.
Reading the wall before designing the shelf
Start with what is behind the surface. Niches recessed into a wall need studs that can be cut, and walls shared with neighboring rooms may carry sound insulation or fire barriers that cannot be breached. Plumbing, electrical conduits and ducts must be traced and avoided. In existing buildings, surveys sometimes reveal surprises in the middle of what appeared to be a plain partition. Coordinate early with the contractor, so that recessed units are designed for the real wall rather than the assumed one.
Depth is the first dimension to settle. Shelving that projects into a corridor can violate clearance rules and catch passing luggage, whereas a shallow recess is safe but holds little. In guestrooms, shelves beside the bed or above the desk should be deep enough for a book, a glass and a small lamp but not so deep that a guest bumps a head sitting up. Check local accessibility requirements for reach ranges and protruding objects, and treat these as design inputs from the start.
What goes on the shelf decides how it is built
A display niche in a lobby may carry a sculpture or a curated set of objects, while a guestroom shelf holds a kettle, a book, a tray of glasses and a few decorative pieces. Each load changes the construction. Heavy objects need thicker shelves, closer supports and a back panel strong enough to carry fixings. Glass shelves look light but chip at the edge and show fingerprints, and timber shelves look warm but may bow under load. Test the spans with the actual objects that will be placed, and allow a safety margin.
Security and theft matter in public areas. Open niches with loose objects invite handling, and valuable pieces may need fixings, glass fronts or concealed adhesive. In guestrooms, items such as glassware and decor should be chosen with replacement in mind, since some will disappear. The housekeeping team will thank the designer for shelves that can be wiped in a single pass, without awkward corners or fixed decorative details that trap dust.
Think about how the niche will be cleaned and restocked. A narrow recess that a cloth cannot reach is a dust trap, and a high shelf that needs a stool to reach will be neglected. Rounded inside corners and a sealed finish make wiping easier, and a removable shelf allows deeper cleaning. If the niche holds amenities such as a kettle or a coffee set, plan for replenishment and make sure the surface under them tolerates heat and spilled water. In a corridor, protect the lower edge of a niche from cart impact with a hard-wearing base or a slightly raised sill.
Lighting, finishes and the details that sell the illusion
Lighting is what elevates a niche from a hole in a wall to a feature. Linear LED strips hidden along the top or front edge wash the contents with even light, while spotlights create drama on single objects. Choose a color temperature that matches the room's lighting, and consider dimming so the effect can change from day to night. Plan the power and driver locations before the niche is built, and make sure the driver can be reached for replacement without destroying the shelf.
Finishes should be consistent with the wider room. A painted niche that matches the wall disappears, while one lined with timber veneer, stone, mirror or wallcovering stands out as a feature. Edges must be crisp, since the eye is drawn to the lines of a recess, and any gap or uneven paint will be obvious. Mirror-backed niches multiply light but also show every smudge. Whichever surface is selected, check it under the real lighting at the typical viewing angle before approving it.
Think of the display niche as a quiet storyteller. In a boutique property, it may hold objects connected to the neighborhood, local ceramics, vintage books or photographs that give the visitor a first impression of the place. In a larger hotel, it may hold nothing but a wash of light, which is enough to make a corridor feel finished. The content should be easy to change, so that the display can follow the seasons without calling in a carpenter, and the supports should be designed for that rotation.
Coordinating with the rest of the fitted package
Shelving and niches rarely stand alone. They sit beside doors, windows, wardrobes and headboards, and the lines between them need to align. Owners who specify built in furniture such as wardrobes and headboards for a project benefit from drawing the shelving and niches in the same set, so that heights, depths, reveals and finishes carry across from one element to the next. A shelf that is three-quarters of an inch off the headboard line looks like a mistake, even if each piece is beautifully made.
Review the fitted elements on a single elevation. Draw each wall as the guest sees it, with every shelf, door, panel, switch and outlet in position, and look for collisions and misalignments. Mark the finish on each part. This kind of elevation is quick to produce and catches errors that are expensive to fix after installation.
Once the units are installed, inspect them carefully. Check that doors and drawers close smoothly, that shelves are level, that lighting works and that the edges are clean. Keep a record of the finishes, paint codes and lighting specifications so repairs can be made accurately. Provide the maintenance team with cleaning guidance and a list of the fixings and access points. Done well, shelves and niches look effortless, and no guest will guess how much planning stood behind them.